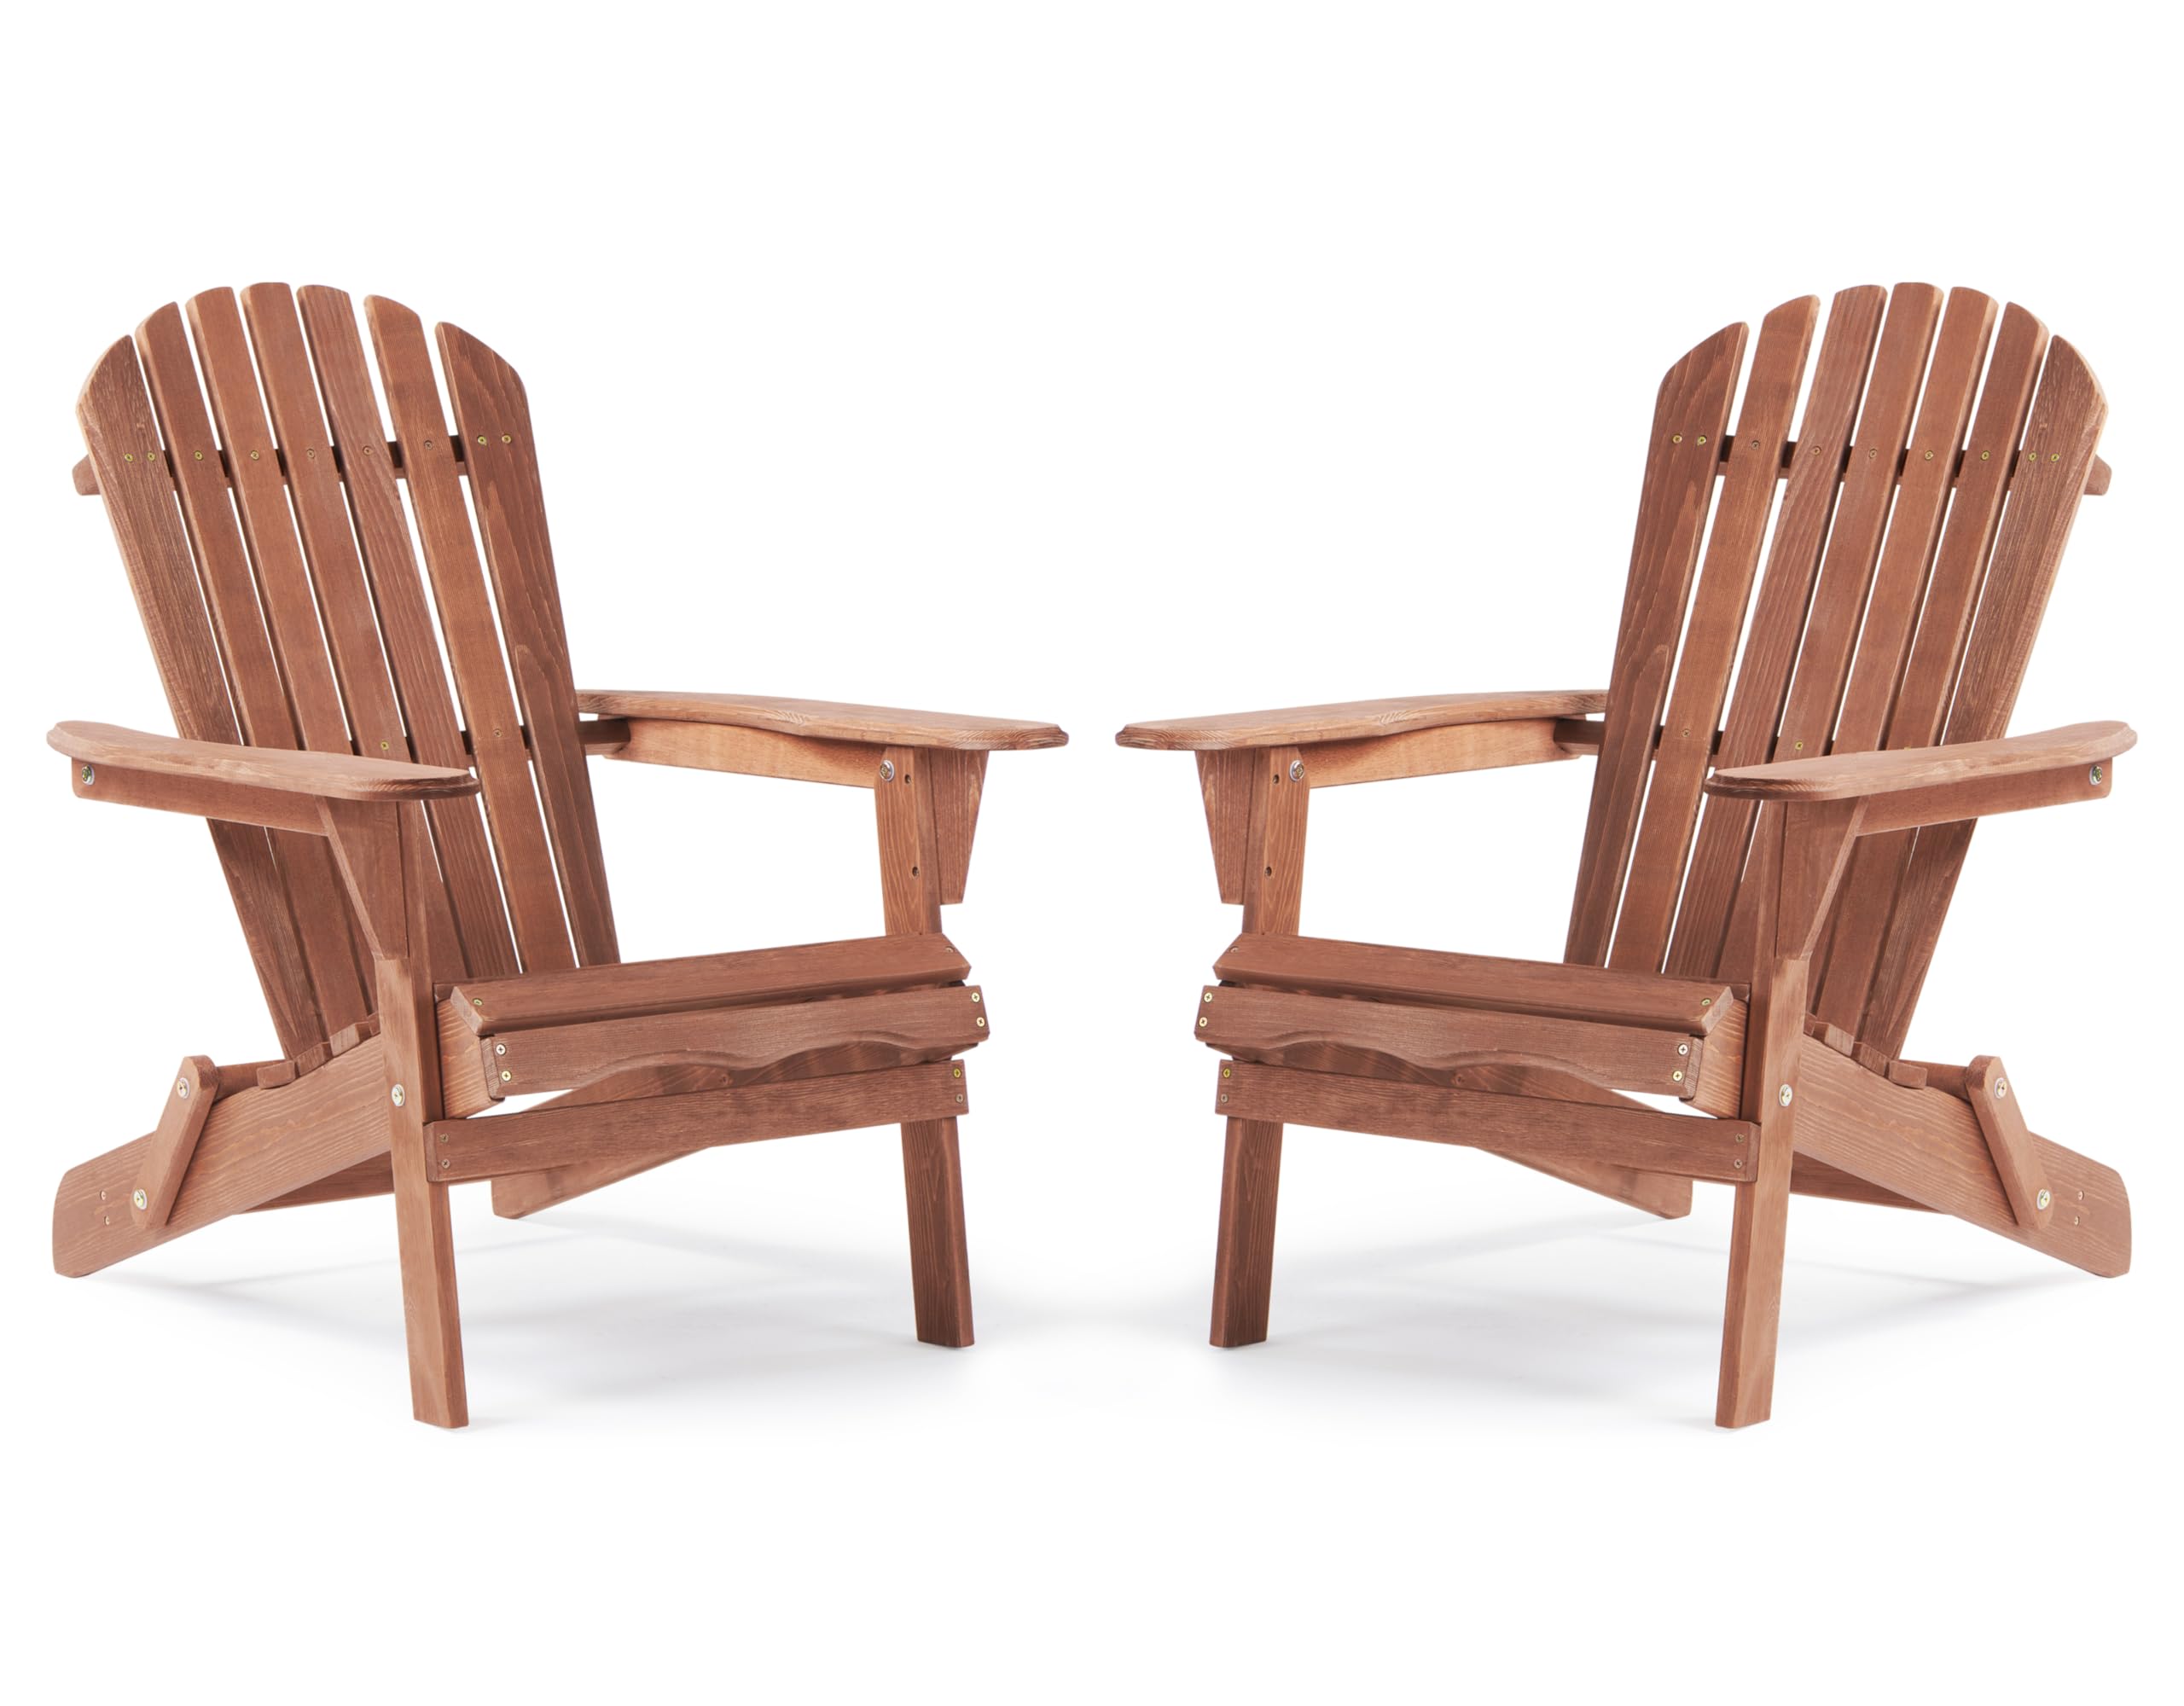

🌞 Sit Back, Relax, and Unfold Your Paradise!
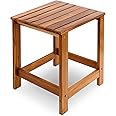
The Outdoor Wooden Folding Adirondack Chair Set of 2 is designed for comfort and convenience, featuring premium Hemlock wood construction, a half pre-assembled backrest for easy setup, and a foldable design for effortless storage and transport. Ideal for any outdoor space, these chairs combine classic style with modern functionality, making them the perfect addition to your garden, patio, or poolside.

| Seat Depth | 19.5 inches |
| Seat Height | 14 Inches |
| Arm Height | 21 Inches |
| Chair Backrest Width | 31 Inches |
| Item Weight | 43 Pounds |
| Unit Count | 2.0 Count |
| Seat Back Interior Height | 31 Inches |
| Item Dimensions D x W x H | 31"D x 28"W x 36"H |
| Size | 36''x28''x31‘’x2 |
| Arm Style | Flared |
| Subject Character | Fodling Adirodnack Chair |
| Furniture Finish | Wood |
| Leg Style | Tapered Leg |
| Pattern | Solid |
| Theme | Fodling Adirodnack Chair |
| Color | Espresso |
| Back Style | Solid Back |
| Style | Outdoor Wooden Folding Adirondack Chair |
| Seat Material | Wood |
| Frame Material | Wood |
| Material Type | Cedar |
| Maximum Weight Recommendation | 220 Pounds |
| Is Customizable? | No |
| Is Foldable | Yes |
| Furniture Base Movement | Glide |
| Tilting | No |
| Special Features | Fodling Adirodnack Chair, Wooden Patio Chair, Outdor Lawn Chair |
V**
Lessons / Instructions Learned from Assembling Them
I bought 4 of the 2-chair sets and just finished assembling them. They are well engineered to make assembly easy. The real key to assembling them is to not tighten the hinge bolts until the end. The first one took me probably 30 minutes, the 4th one took me about 10 minutes. Come back and read this when you are ready to assemble them. I tried assembling the first one on the floor, but it is much better to clear off the kitchen table (or work bench) and work there. Lay the box on the table, taped seam up. Cut the tape, but not too deep. Open the box and cut the bubble wrap loose. Take out all of the pieces and lay them aside. Dispose of the box and the packing material. Find the two long pieces (back legs) and lay them parallel on the table, with the larger rear cutout notches facing each other. Find the scalloped front piece with the 4 screw holes. Hint: All of the holes are countersunk, so you know which side to screw from. Lay it on the table in front of the the two long read legs, scalloped side down and line up the holes. The scallops actually line up the holes flush. Find the 5 seat slats and lay them out on top of the legs. Unpack all of your screws. Place the screws in the slats (in the countersunk side) and line up the holes. It is easiest to push the screws through the slats slightly to get them to align in the holes underneath. The next piece is the back slat of the seat that is curved and is on the angle edge. Voila, the seat is done. Now. Open the two bags of bolts and split them between either side of the seat. Take the two hinge pieces (8" X1" wood pieces with 2 holes) and connect them to the legs with the nuts and bolts. Big hint: One washer goes on each end of the bolt and one in the middle between the wood pieces. You will screw this up at least once. DO NOT TIGHTEN THE BOLTS! Now turn to the pre-assembled seat back. Find the curved piece that goes on the middle of the back. This is the one step that I still have a little trouble with. You need to line up the 3 holes from the front side, so it is awkward. Tighten the screws. Now lay out the seatback flat at the rear of the seat you just built and line up the open end of the hinge pieces with the bottom rod across the seat back. Again put in your bolt and 3 washers on each side, but do not tighten. Next, find the front legs. The little triangles at the top point outward. Move the seat to the edge of your table and put the bolt through the front leg and back leg, and let it dangle there on each side. You guessed it, do not tighten the bolts. Now take the arms, skinny sides to the back (and middle) and lay them next to the back and seat on the table. Attach them to the middle of the back seat with the bolts. When that is done, pick up the seat back and the arms attach them to the top of the front legs. Remember that these bolts are the only ones that go from the inside out. Now that you have attached all of the bolts, go ahead and tighten them. The last step is then to attach the support across the front with the 4 screws, beveled edge up and countersunk side facing out. It seats real well in the notches provided. Per other's advice, I am going to poly them, and I think I will construct some cup holder to go under the arms as well. I think I will build my own footrests too. They are easy. Hope this helps.
N**X
Adirondack Installation
⭐️⭐️⭐️⭐️⭐️Comfortable, Stylish, and Surprisingly Easy to Assemble!I absolutely love these Adirondack chairs! Once assembled, they looked fantastic and added the perfect touch to our outdoor space. Assembly was pretty straightforward — the instructions are clear enough, though I also left a few of my own notes in case someone needs a bit more guidance.A few tips from my experience:Use the included tool or a proper wrench to tighten all the bolts securely. I originally tried to take a shortcut and realized later that everything needed tightening.When attaching the arms to the legs, make sure the legs are on the inside of the armrest. If your legs are sticking out beyond the arm, you probably installed it on the wrong side.I used a drill gun, which sped things up a lot, but be gentle — the wood is on the thinner side, so too much pressure could crack it.After doing four chairs, my fingertips were a little sore, so I really appreciated having the drill.Once I finished my first chair and got the hang of it, each one took about 15 minutes. If you're chatting or distracted, it might take 20–30 minutes per chair. Still, for furniture assembly, that’s a breeze.All in all, these chairs were a great buy. Comfortable, well-crafted, and the assembly was beginner-friendly with just a few mindful steps. Would definitely recommend! See YouTube for the full video. I'm not a video pro just wanted to help those in need.
L**G
Bang for your buck!
These chairs are beautiful and sturdy. We love that we can fold them to easily move around. The only reason I don’t give 5 stars is because they aren’t super deep and aren’t the most comfortable Adirondack chairs we’ve sat in. Overall biggest bang for your buck and comes in amazing colors.
R**A
Nice chairs!
I like these chairs. I had been wanting some of these for the porch for years, and took a chance on these. Definitely goes better with two people assembling them. But it wasn't too bad. We had to fix one place where the wood splintered when a screw was tightened a little too much. They do set lower to the ground than I realized, but they're comfortable and look good. I got three of them, and plan to get one or two more when the other existing porch furniture bites the dust. Now all I need is more time to sit on the porch and enjoy them....
I**S
I really wish I could cuss out the makers of these chairs…
These chairs, while they look cute, are HORRIBLE. Putting each chair together took HOURS and most of the screws still would not go in, not with a drill, not with making the holes bigger, nothing. I have blisters all over my hands and would like to have some words with whoever designed these chairs. I’m not sure if the ones I got were defective or if this is how they all come, but putting these chairs together will take years off your life and they might still fall apart from loose screws that will not go in. DO NOT RECOMMEND.
T**R
Easy to assemble
I am not overly fond of assembling furniture, so I was surprised at how easy it was.My powered screw driver certainly helped.The instructions were easy to follow.The product is well made, and sturdy.I will spray them with a weatherproof clear coat.Hopefully that will lengthen their life.
Trustpilot
1 week ago
3 weeks ago